BluJay Solutions Parcel 21.1.0 - User Guide
Canada Post - Customer Management Tool Guide |
Scroll |
Before you can configure Canada Post in the Parcel Configuration Tool, there are steps that you must complete the required information in Canada Post's E-Link Customer Management Tool (CMT). These steps are outlined below:
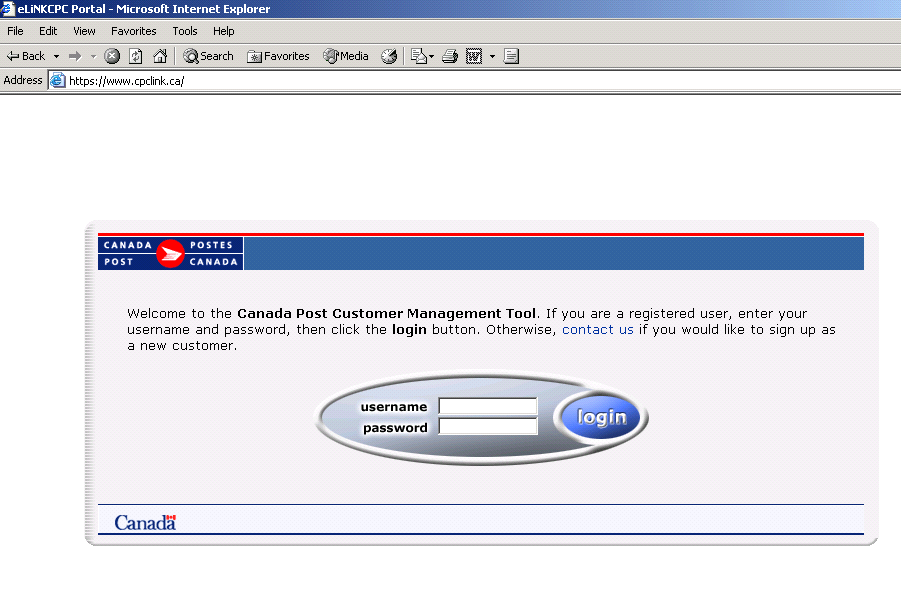
You can access the CMT at the following URL:
Note: Before attempting to long on to the Canada Post Customer Management Tool, contact Canada Post with your Customer Number and request login information (User Name and Password) from you Canada Post Representative.
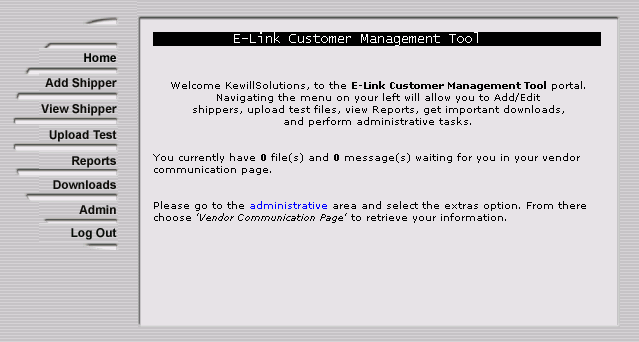
1.0 Add Shipper
This option is used when you have a new customer. By adding a shipper, you are creating a customer profile.
Step 1: Select Add Shipper from the list of options on the left hand side.

Step 2: You are required to complete the following sections:
1.Shipper Information – Include the customer’s mailing information. For USA address, change “Province” to first option which is null. Enter Zip Code in “Postal Code” field and change “Country” to “USA”.
2.Setup Information – The “File Type” should indicate “ASCII Flat File”, “Connection Type” should indicate “FTP”. You are not required to complete any other fields in this section.
3.Shipper Contact Information – Please include a customer contact including name, email address and phone number.
4.Shipper Requests for CanadaPost – The text that is included in this section will be included in a generated email that will be provided to Canada Post. This generated email advises Canada Post that a shipper has been added. It is Canada Post’s responsibility to add the shipper’s Customer/Contract information (from the Details page). If you have the Customer Number and/or Contract Number, you may provide it in this section.
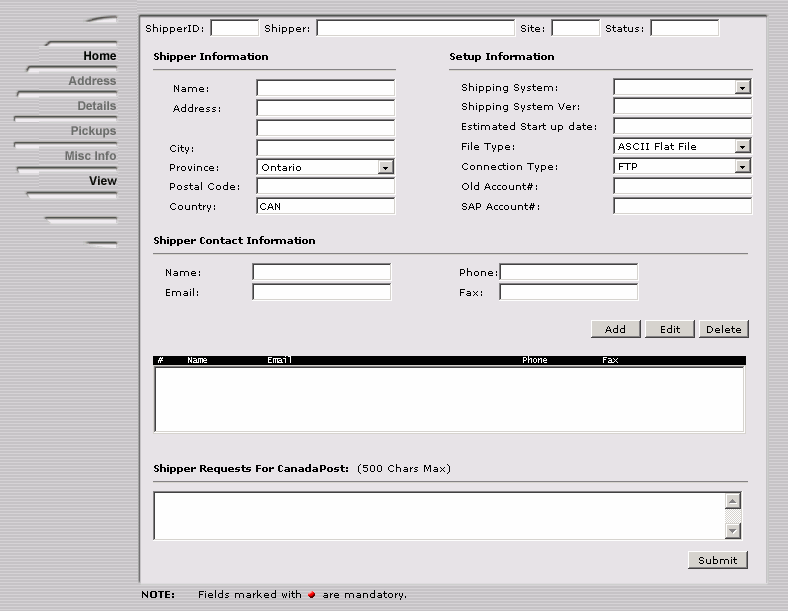
Step 3: Once you have entered the information, click on Submit.
Once you have submitted the data, a Site ID will be generated and will be displayed on at the top of the page. This Site ID will be used in the eLink file (field 4). It is also used to generate the Manifest Number.
2.0 View Shipper
This option can be used to view and/or edit an existing customer’s profile.
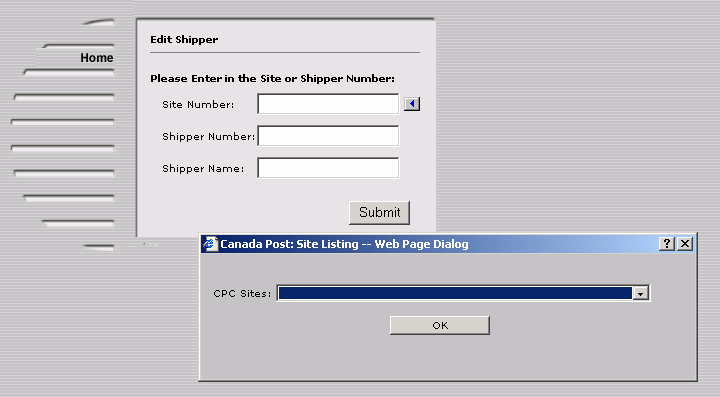
Step 1: Select View Shipper from the list of options on the left hand side.
Step 2: Once you have shippers added, you can click on the arrow. This will bring up a dialog box. You will be able to select from your list of shippers by clicking on the down arrow. By clicking [Submit], the customer’s Address page will then be displayed.
3.0 Upload Test
This option is used to test an eLink file.
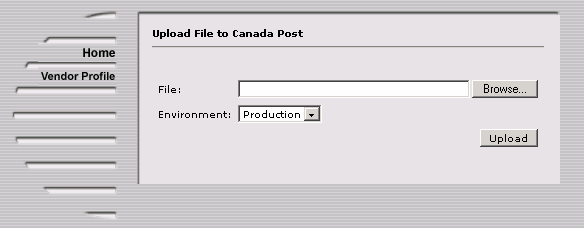
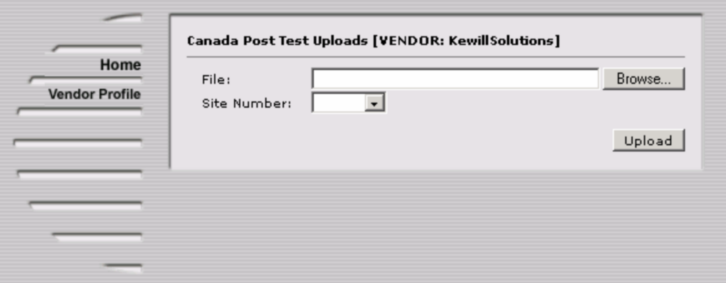
Step 1: Select Upload Test from the list of options on the left hand side.

Step 2: Click [Browse] to select the file to be tested and then click [Upload].
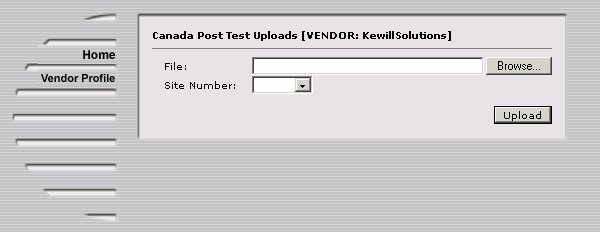
Step 3: You should then receive the following message - 'Upload successful!'. Click on “Return”, this will bring you back to the main page.

3.1 View Test Results
Step 1: In order to view the results, from the main page, click [Upload Test].

Step 2: Click [Vendor Profile].
Step 3: Scroll down, and you should find the test results. If the file does not appear, click [Refresh Listing]
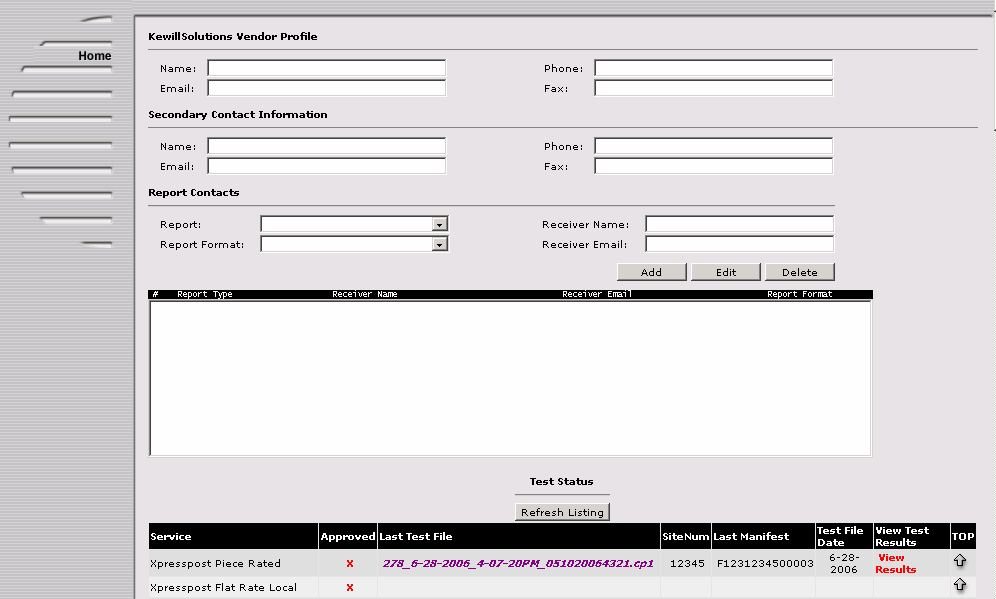
The results are displayed by service type. If the file contains multiple Article Numbers (services), the file will be displayed under the service representing the first item in the file.
You can then view the results.
If “View Results” appears in blue, this indicates that the file does not contain any errors. If “View Results” appears in red, this indicates that there are errors within the file.

Step 4: Click [View Results], a page then opens displaying the data. If there is an error, it will be highlighted in red. Note that this tool stops on the first error. You will be required to fix the file and resubmit it.
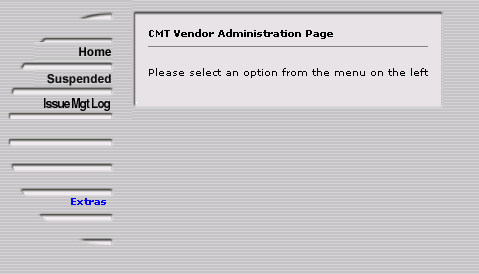
4.0 Admin
This option provides multiple functionalists. The two options to note are the “Suspended Files” and “Extras” which allows you to add, edit and remove user accounts (CMT access).
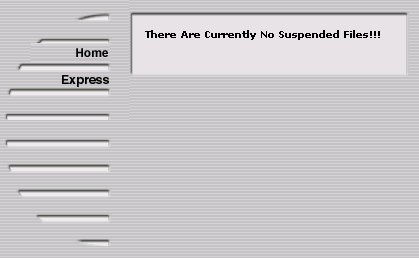
4.1 Suspended Files
When a customer transmits a file containing errors that Comport cannot correct, the file suspends. It is your responsibility as the Vendor to correct the errors and resubmit the file. You can locate the suspended file and view the error message using the CMT.
Step 1: Select Admin from the list of options on the left hand side.

Step 2: Select Suspended from the list of options on the left hand side.
Step 3: The suspended file would appear in the next screen.For Commercial Expedited Parcel USA, the suspended file would be located on the “Express” page.
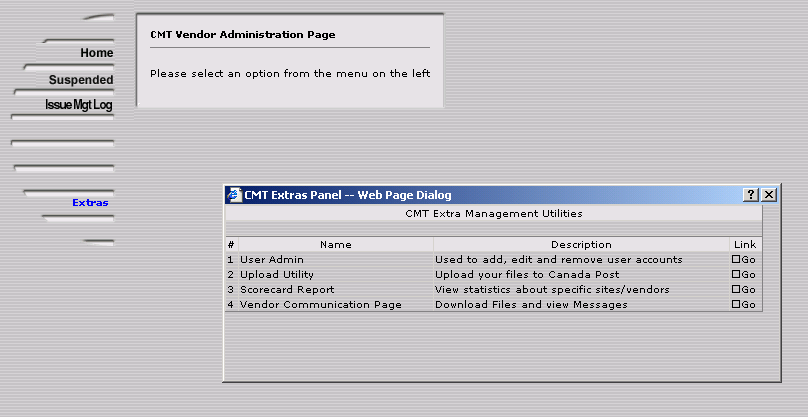
4.2 Extras
This option contains multiple functionalists.
Step 1: Select Admin from the list of options on the left hand side.

Step 2: Select Extras from the list of options on the left hand side. This will bring up a dialog box containing multiple options.

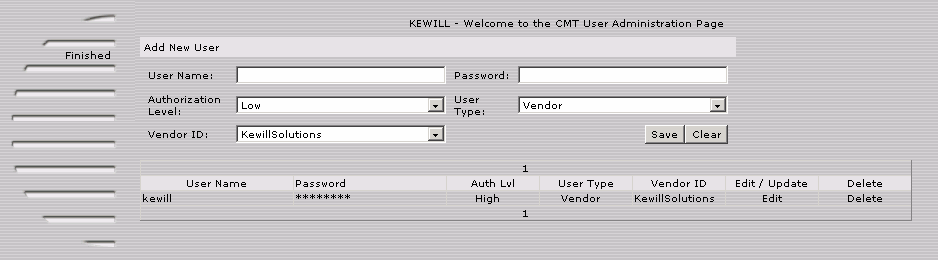
4.2.1 User Admin
This option allows you to manage your CMT access. You can add, edit and remove user accounts.
Step 1: Select option 1, User Admin from the dialog box.

Step 2: Edit the fields as required, then click [Save].
4.2.2 Upload Utility
This option allows you to upload files to Canada Post (for example, resubmitting suspended files).
Step 1: Select option 2, Upload Utility from the dialog box.
Step 2: Click [Browse] to select the file to be uploaded and then click [Upload].